(my favorite flowers in the whole world - from the Hubs)
I thought long and hard about what to make for Adam for Valentine's Day. I definitely put more thought into it than I used to, now that I know a little more about baking. After searching online for a while, I finally came across
this. I thought, gosh, I can do that! I really thought
it couldn't be
that hard.
So I bought
all the ingredients for everything.
You will need 2-3 layers of red velvet cake (I'd make this from scratch), 4 layers of white cake (or if you mess up like me - 3 layers and a cake leveler, ha!), 1 cup or 1 can of cream cheese frosting (I used canned this time), a
cake leveler, 2
cake boards, buttercream frosting (I'd really recommend making this from scratch, too), and lastly you will need some piping bags or some sort of gel/frosting to decorate with, oh and some room in your freezer... no joke.
Dang, that's a lot of stuff. Lucky for me I had a weekend mostly all to myself to work on this sucker (the hubby was at work). First you make the red velvet cake
(recipe at bottom of post). Sure, you could make a box mix, but I really really wanted to try a homemade version since I had never done that before...
it was worth it ;)
It's pretty straight forward. The only tip I would suggest would be to remember to put the butter out an hour or more before making this and the eggs out thirty minutes before making it. First, you will cream the butter and sugar until light and fluffy. Add the eggs, one at a time, beating well after each addition.
Next, in a small bowl stir together the red food coloring, cocoa, and vanilla. Then add it to the batter and mix well. In a measuring cup stir the salt into the buttermilk.
*Tip: If you can't have lactose like me you can make your own buttermilk with lactose free milk! Horray! All you have to do is this: in a measuring cup, put one tablespoon of lemon juice. Then pour your choice of fat content lactose free milk over the lemon juice, up to the one cup line. Stir and then let it sit for two minutes. After it sits for the two minutes, you have you some sour-y, curdled, buttermilk!
Next, add the buttermilk/salt mixture to the batter in three parts, while alternating with the (sifted) cake flour. Each time you add one of these, mix well but don't over mix. Just enough to get them combined.
Next, put the baking soda and apple cider vinegar in a small bowl and stir. This totally reminded me of a science experiment, right?! Add it to the batter and mix well. (Remember to scrape the bowl with a spatula as needed.)
Divide the batter among three 8 or 9 inch well greased cake pans. The recipe I used also called for waxed paper in the bottom of the pans after greasing well. I didn't do that because for this cake I was making a cake/frosting mixture, but if you wanted to make a three layer red velvet cake you would definitely want to use the wax paper in addition to the greasing so that it doesn't stick. Bake for 30-40 minutes (it was closer to 40 for me). Test with a toothpick. The cakes are ready when the toothpick comes out clean. Also, different racks in the oven can make things cook at different times, so check them all. Once removing, let the layers cool in the pans for about an hour.
This makes quite a mess! And that's not the half of it.
While the red velvet cake is cooling, make the white cakes. You are going to want four of those store bought, aluminum/disposable, 8 inch cake pans. Now I'm going to be honest with you here, the red velvet cake, while sounding easy, took me a little longer than I thought. So while I had all the things to make homemade white cake, I ended up using two boxes of white cake mix. I know, I know. Bad Jenny. I'm sorry, I just couldn't do it! I had too much laundry to do! :) But if you want to make homemade white cake, here is the recipe "I am baker" used (she found it on
food network). No matter what, make sure you grease and flour the pans really really well!
[White Cake
- 1 1/2 cups self-rising flour
- 1 1/4 cups all-purpose flour
- 1 cup (2 sticks) unsalted butter, softened
- 2 cups sugar
- 4 large eggs, at room temperature
- 1 cup milk
- 1 teaspoon vanilla extract
Directions:
Preheat oven to 350 degrees F.
In a small bowl, combine the flours. Set aside.
In a large bowl, on the medium speed of an electric mixer, cream the butter until smooth. Add the sugar gradually and beat until fluffy, about 3 minutes. Add the eggs, 1 at a time, beating well after each addition. Add the dry ingredients in 3 parts, alternating with the milk and vanilla. With each addition, beat until the ingredients are incorporated but do not over beat. Using a rubber spatula, scrape down the batter in the bowl to make sure the ingredients are well blended. Carefully spoon the batter into a well greased and floured cake pan (or use Bakers Joy). Bake for 20 to 25 minutes (for round cake), or until a cake tester inserted into the center of the cake comes out clean.]
After making the white cake we will go back to the completely cooled red velvet and crumble it up!
I just put two of the three red velvets in a very large mixing bowl and broke them up very well with my hands. Then I put the last one in there and continued to break it up. Once you have small little red velvet bits, take the 1 cup or 1 can of cream cheese frosting and put it all on top of the crumbled cake.
Now before you put your hands in this crazy mess, make sure you take off all your rings and bracelets and hair ties (come on you know you wear them around on your wrist) and watches. Now that you took the appropriate precautions, get dirty! You are going to need to mix this well. And while
Bakerella says to use a spoon or spatula, I've found that the best way to do it is use your hands. Channel your inner 5 year old and pretend you're playing in dirt. It's fun! Once that is combined, stick in the fridge.
Next, make the buttercream. See recipe below. It's pretty straight forward.
Then take your completely cooled white cakes and level them with your cake leveler. You just want flat tops. Nothing crazy.
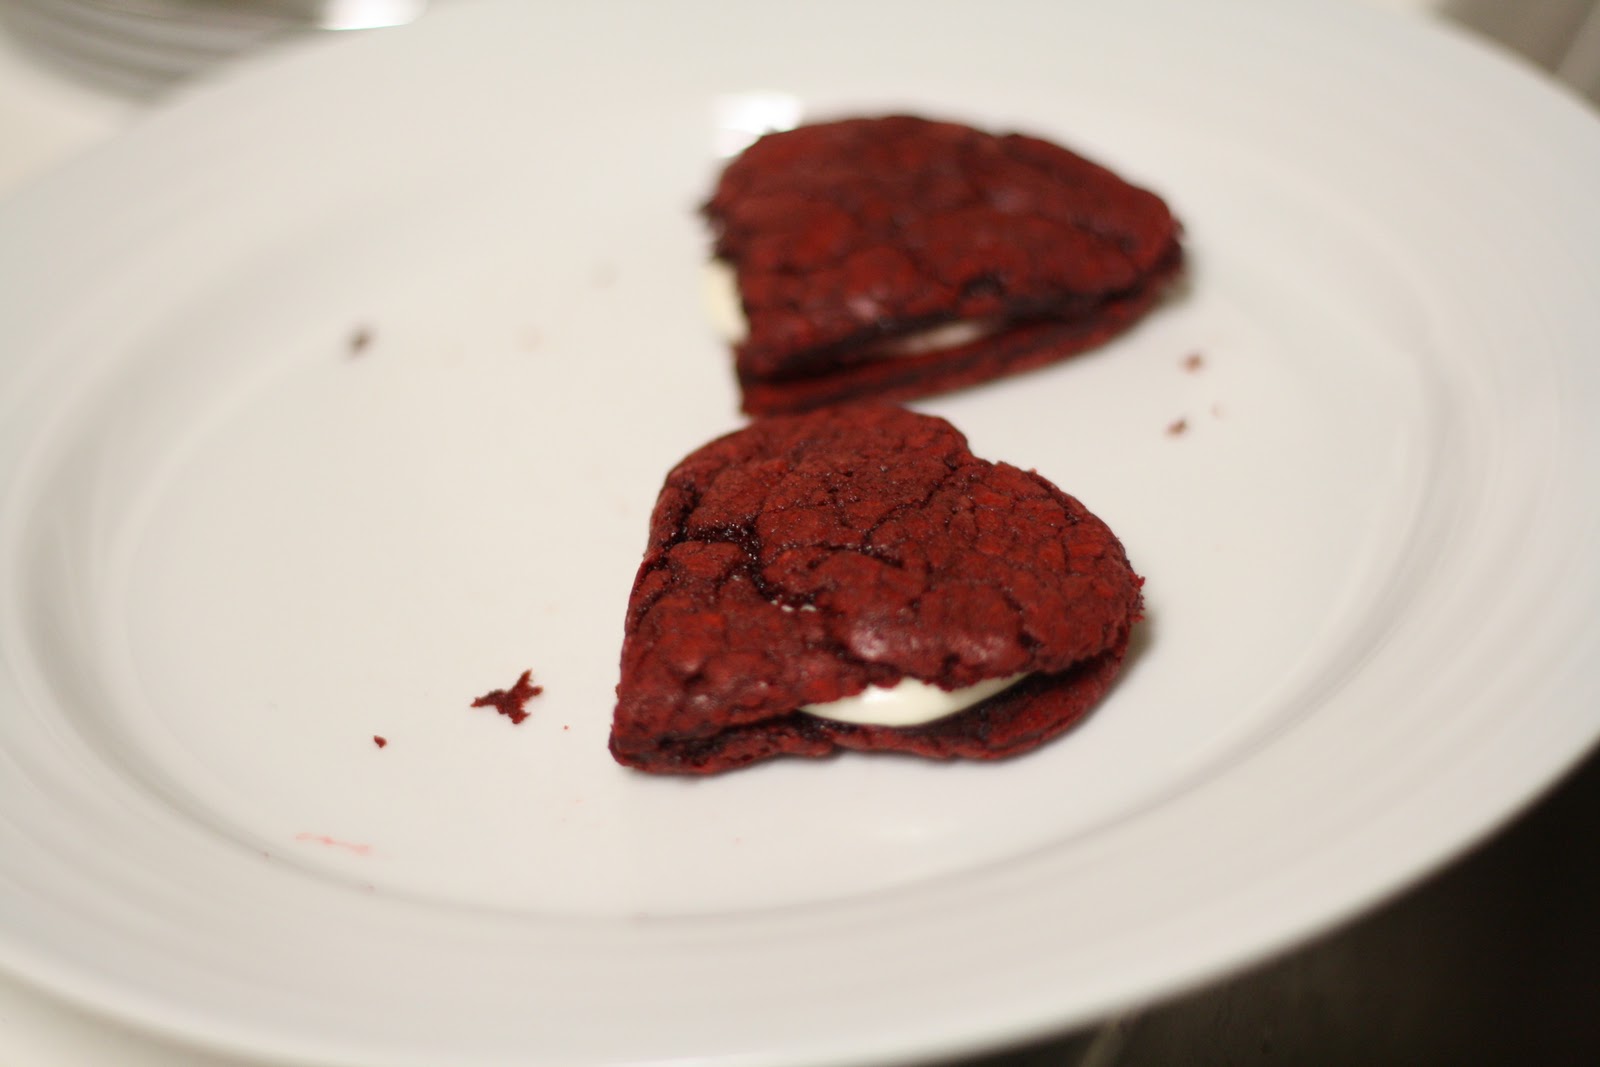
Then, put one on each cake board. Now this is where I had a slight (read: major) problem. Is it possible to wait too long to take the cake out of the pan? I let it cool for a good while so I could do other things, and the one cake in my regular pan (not the disposable ones from the grocery store - they were sold in packs of 3 so I only bought one pack) broke in half!!!! :( Major sad face.

So I guess the only suggestion that I have, because I am very obviously not a professional cake maker (and you will also see not a professional cake decorator later), is to let the cakes cool for about 10 minutes or until you can handle the pan safely with your bare hands, and then cool them the rest of the time on cooling racks. The weird thing is I had basically no problem with the disposable pans. I ran a knife around the edges, like you always should, and they came right out. Oh well. Since I had one cake disaster, I decided to cut the third tier, the one not on a cake board yet, in half. I used my cake leveler and cut it right in half to make a 3 layer cake by using two cakes of 1 1/2 layers.

So if you caught that, next you will make 2 - two layer cakes (for me it was 1 1/2, wha whaa). Take the two cakes on the cake boards and frost the tops of both of them with about 1/2-3/4 cup of buttercream frosting. Then take your other two layers and place one on top of each of the frosted cakes. Now that you have your 2 - two layer cakes on cake boards, stick em in the freezer! For real, you can't skip this step. It's crucial to the carving of the heart. Basically you can't even do this if you can't freeze them. I put them in there overnight, but I think around 3 hours should do the trick.
Once you've chilled the red velvet mixture and frozen the white two layer cakes, you are ready for the hard part.
Take the white cakes out of the freezer and set them on the counter. Now if you are spatially "slow" like me, take two toothpicks and stick them in the cake like this:
That's twine between them to hold them together. Use a double knot to hold them on there good and tight. Now take the one on the outside of the cake and draw it into the cake all the way around the circumference of the cake (Whoa, yup I just threw out a math term... my dad - a retired math teacher - would be so proud). Make sure you can see the line well. It took me two go rounds to get it to show well. Do this on both of the white cakes. I just took the toothpicks from the first cake already tied together and transferred them carefully to the second cake.
Now is the hardest part of all. The carving. Carve out a cone shape in the first cake. This is the bottom, and that's very important to remember. I used a knife to help me get the basic shape and then dug it out and made sure it was a smooth line with a spoon.
The bottom is similar but definitely a little bit harder. It's a cone but the bottom of the cone (the skinny part) has another upside down cone island in it. See:
I don't know how else to describe it. And carving it is just a guessing game. I cut slowly to see if I had enough room for the "island". I don't know that
I am baker had any better directions. It's just hard to explain. By the way, this is the top. Remember that. You definitely want to keep track of which one is which. Personally I wrote on the top cake board "top", because you will discard that cake board eventually.
Once you have the top and bottom carved and cleaned out. Take the red velvet mixture and fill up the carved out cavities. Ew... that sounds like something from the Hubby's anatomy class. Anywho, fill em up. I used the mixture to create a fairly sturdy edge of it around the edges of the cavities - don't push too hard but you can use a little force since the white cake is frozen.
Then I filled the rest of it in a little less haphazardly. Make sure the top of the red velvet filling is both flat and flush with the top of the white cake.
Next, put frosting on the white part/edge of the bottom cake. This is to hold the top cake in place. (See
I am baker's post for this. I was rushing and forgot to take pictures of the next couple steps.)
Now that you have frosted the bottom edge, take the top cake and flip it over onto your hand, CAREFULLY. Then use both hands to hold it (with the red velvet filling facing down) and slowly center it over the bottom cake. Once you're sure it's as centered as it can be, place it carefully on the cake. Hard part's done!!! Yay!
Now remove the cake board on top carefully and then take your buttercream frosting again, and do a thin-ish crumb coat over the entire cake. Now you want to refrigerate it for about an hour or so to set the frosting.
After the frosting is set, take it out and do the final frosting layer. I was in a hurry at this point, which is unfortunate because I could have definitely been more careful and done a better job. The frosting job I did was too thick and I also didn't refrigerate it at all after the last coat to set it. Stupid Jenny. That led to a major "frosting meltdown" the next day... after we had our first slices. One whole side of the cakes frosting just fell off! haha. We thought it was funny but it would have totally sucked if you did this for a party or something. So take your time and be sure to set it well! Then decorate as you please.
Now that you have done ALL THAT WORK! And it is a lot. Cut into that sucker!
We cut a huge first slice so we could see the heart.
This was my first time making this, and I have to give myself credit... it wasn't a complete disaster like I thought it would be. Granted, the outside of the cake was pretty hideous, but the red velvet really did resemble a heart. Not as good as I am baker's but pretty decent! Horray! Hubby was super impressed and LOVED the cake. Like, asked me to make it again one day, loved it. We will see if that ever happens, the whole making it again thing. That was a pretty insane process. But it was worth it. And I think I really made the Hubs feel special... which was the whole point.
So if you're crazy, try this. If not, just observe and laugh at how crazy I am. Either way, I hope you enjoyed this. See below for the rest of the recipes. I'll be back next week with another belated Valentine's day post. And a much much easier one at that!
Have a great weekend!!! It's supposed to be a beautiful one in the Southeast, so I hope you southerners can enjoy it!
Red Velvet Cake
(adapted from Magnolia Bakery and I am baker)
- 3 1/3 cups cake flour (not self-rising)
- 1 cup (2 sticks) unsalted butter, softened
- 2 1/4 cups sugar
- 2 large eggs and 2 large egg yolks, at room temperature
- 2 tablespoons red food coloring
- 3 tablespoons unsweetened cocoa
- 1 1/2 teaspoons vanilla extract
- 1 1/2 teaspoons salt
- 1 1/2 cups buttermilk
- 1 1/2 teaspoons cider vinegar or apple cider vinegar
- 1 1/2 teaspoons baking soda
Directions:
Preheat oven to 350 degrees.
Grease and lightly flour three 9 x 2-inch round cake pans, then line the bottoms with waxed paper.
To make the cake:
In a small bowl, sift the cake flour and set aside. In a large bowl, on the medium speed of an electric mixer, cream the butter and sugar until very light and fluffy, about 5 minutes. Add the eggs, one at a time, beating well after each addition. In a small bowl, whisk together the red food coloring, cocoa, and vanilla. Add to the batter and beat well. In a measuring cup, stir the salt into the buttermilk. Add to the batter in three parts, alternating with the flour. With each addition, beat until the ingredients are incorporated, but do not overheat.
In a small bowl, stir together the cider vinegar and baking soda. Add to the batter and mix well. Using a rubber spatula, scrape down the batter in the bowl, making sure the ingredients are well blended and the batter is smooth. Divide the batter among the prepared pans. Bake for 30-40 minutes, or until a cake tester inserted in the center of the cake comes out clean. Let the layers cool in the pans for 1 hour. Remove from the pans and cool completely on a wire rack.
Vanilla Buttercream Frosting
(from
Magnolia Bakery and adapted from
I am baker)
Makes enough for one 2-layer 9-inch cake or 2 dozen cupcakes, thus I doubled it for the whole heart cake project.
1 cup (2 sticks) unsalted butter, softened
6 to 8 cups confectioners’ sugar (I used 6 and it we definitely not enough. Next time I'll use the full 8 cups. For some reason I have a hard time with consistency. I always think it's thick enough when it's still too thin. You'll see this problem also arise in my second V-day post next week. I guess I've finally learned my lesson!)
1/2 cup milk
2 teaspoons clear vanilla extract (so you have white frosting)
1 teaspoon almond extract
Place the butter in a large mixing bowl. Add 4 cups of the sugar and then the milk and vanilla. On the medium speed of an electric mixer, beat until smooth and creamy, about 3-5 minutes. Gradually add the remaining sugar, 1 cup at a time, beating well after each addition (about 2 minutes), until the icing is thick enough to be of good spreading consistency. If desired, add a few drops of food coloring and mix thoroughly. (Use and store the icing at room temperature because icing will set if chilled.) Icing can be stored in an airtight container for up to 3 days.