*****
I'm not really sure when or where I stumbled across this "recipe". I use the term recipe loosely because these are easy to tweak and there is not a whole lot to them. I think they may have been a weight watchers recipe. I know it's not a "baked item", but these are definitely something you should add to your rotation!

All you need is a large baking pan, aluminum foil (optional), one medium sweet potato per person, non-stick spray, a sea salt grinder, and a food processor or mandoline slicer.

Preheat your oven to 400 or 425 degrees (for us it depends on what we are cooking with it, but if there is nothing in the oven do 425). First you are going to peel the skin off the sweet potatoes. Now that you have the whole sweet potato with no skin, cut the length of it in half so you have two pieces of sweet potato each with one pointy end and one end that is the shape of a circle. Take the end that was cut and place that end into the food processor or mandoline. Sometimes I find that it is too wide to fit into the processor, if that is the case, you can cut the width in half and you will have half circles for chips (trust me, they taste just as good!).

Now slice all of the sweet potatoes up and you should have a whole bunch of slices. If you have the option of more than one slice width, the thinner the better. We only have one slicer for our food processor, so we stick with that and it works just fine. But if I had my wish, our slices would be slightly thinner.

Now time to prep your pan. If you are using more than two potatoes, you may need more than one pan. Take your largest jellyroll or baking pan and line with aluminum foil with the non-stick side up (if you have it - if not then don't worry about it). Next, take your non-stick spray and completely coat the surface of the pan or foil.

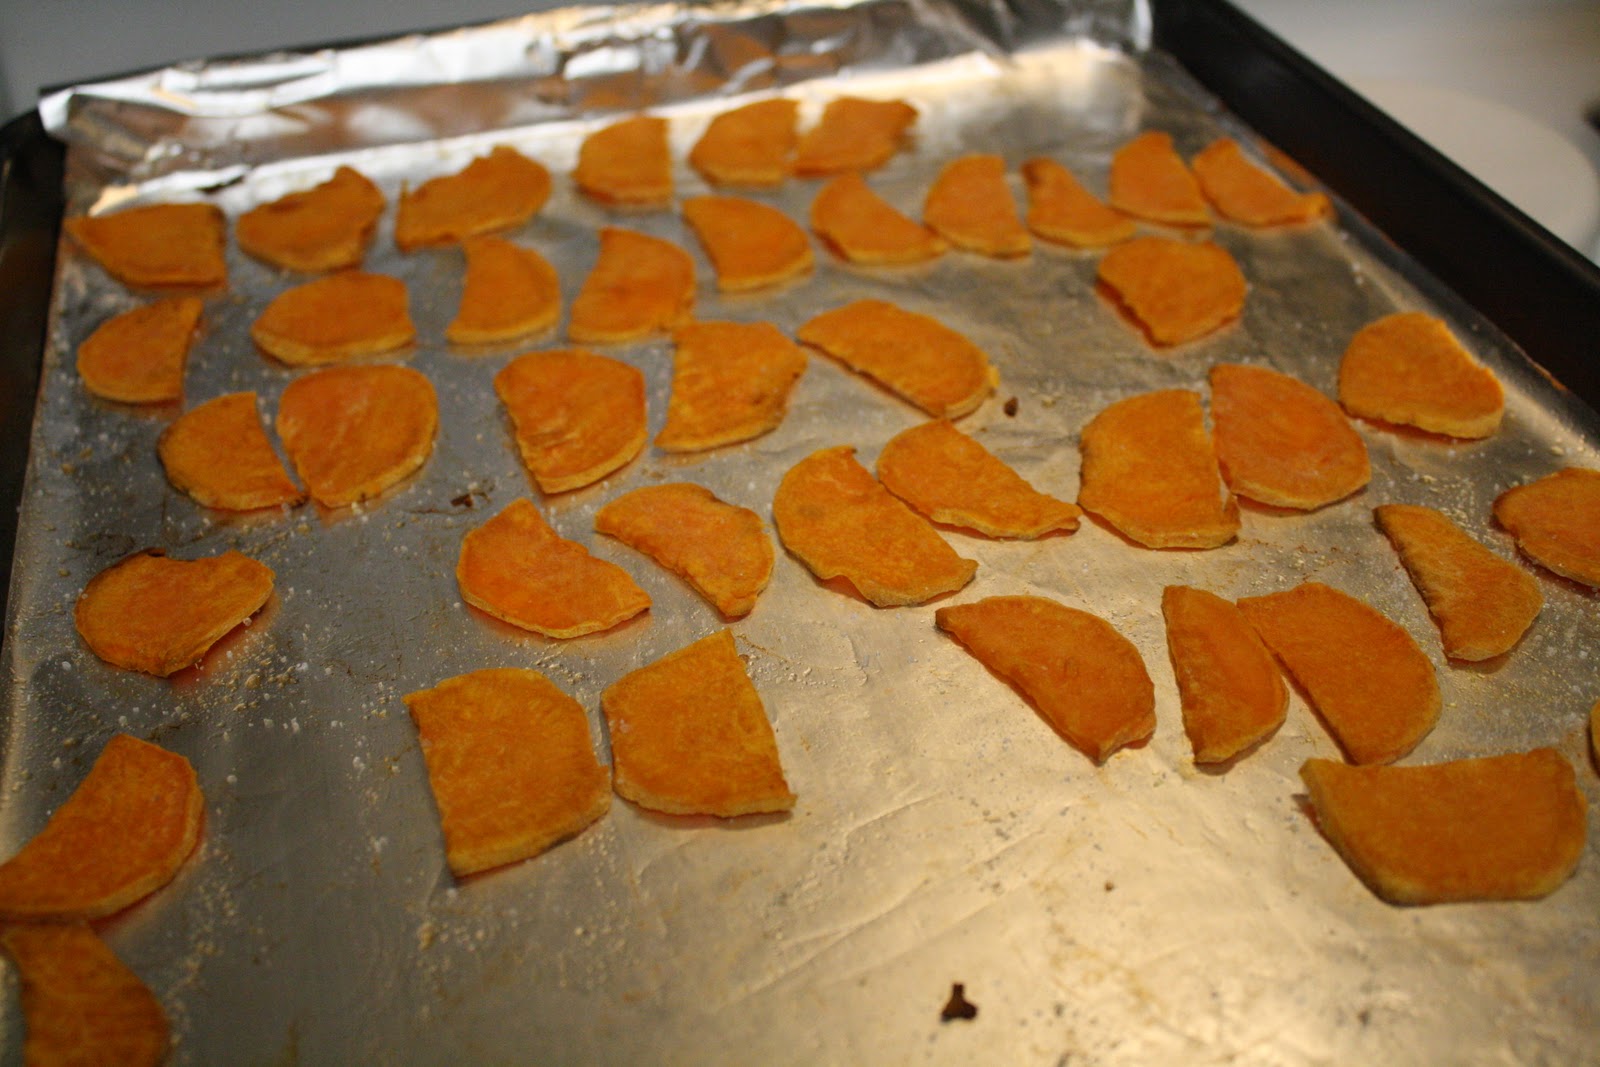
Now you are going to place the slices in rows on the pan. They can be touching but do not layer them on top of each other.

Get that non-stick spray again and completely coat the top of the slices. You're almost ready to put them in the oven! One last thing, get your salt grinder and put as much or as little on them as you want. I like salt but the Hubby doesn't like it as much so I do one side with a little more and the other side with a little less. We haven't ever switched them up, but I bet you could "flavor" them with whatever you wanted. Some chili powder, cumin, and cinnamon might be good.

They are ready to bake! This part is mostly subjective. We like them really baked where some of them are a little crunchy and browned, but they are good sorta mushy too. I know that sounds gross but you have to trust me, they are so good! The Hubby didn't trust me the first time and then he ate one and he was hooked! Put them in the preheated oven and leave them for about 15 minutes. Start checking on them at about the 10 minute mark. Once they seem to be pretty shriveled/shrunk and the thin ones are starting to brown on the edges, take them out and turn them over. I have gotten to where I use my hands now but when I first made them I used tongs. They are delicate so be careful not to "squeeze" them too much... you don't want to squeeze the puddin out of them! hehe. This may take a couple of minutes but once you turn them they are going to be ready pretty quickly. Put them back in the oven after you have flipped them, and leave them in for about 5-10 more minutes. Keep your eye on them because this part can go quickly. Remove when they are at your desired crispy-ness. As Hubby says, the longer the better... but you don't want to burn them!
So delicious and healthy! What a great combo! Be sure to eat these pretty quickly after you remove them from the oven because they cool really quickly. P.S. These are so good that a friend of ours who "would never eat a sweet potato", cleaned his plate. When he asked us what they were, he couldn't believe it! Come to think of it, these are probably a great way to get picky kids to eat something with some vitamins and nutrients.

Sweet Potato Chips
Non-stick spray
Aluminum foil
1 medium sweet potato per person
Sea salt in a grinder
And a food processor or mandoline slicer for slicing
Preheat oven to 425 degrees. Peel the sweet potatoes. Cut them in half length-wise (and then width-wise if needed to fit into processor). Slice all the sweet potatoes into thin slices. Line a large baking sheet or jellyroll pan with aluminum foil (if you have it) and then coat the pan with non-stick spray. Now line the sweet potato slices in rows, touching but not on top of one another. Then spray the slices to coat with non-stick spray. Top with seasoning of your choice... I use sea salt from a grinder. Bake for about 15 minutes then remove pan to turn slices. Replace in oven for another 5-10 minutes or until browned on edges. Eat em up!
Enjoy!
No comments:
Post a Comment
Please remember to be respectful when commenting... Leave the drama for yo momma!