Showing posts with label Cookies. Show all posts

Tuesday, March 1, 2011

Peanut Butter Sandwich Cookies (Homemade Do-si-dos)

After having a heck of a week last week, followed by my weekend plans being completely foiled, I decided I needed to do some baking to cheer me up!  And in case you care, I'm pretending last week never happened.  So, in my mind, Saturday was a new start with some new cookies to try!

I know I told you how much my father-in-law loves peanut butter... but what I didn't tell you is that I love it too, like a lot.  :-)  And between me and the Hubby, if we were left in a room with a jar of peanut butter and a spoon, there may or may not be a fight.  We really like it.  So these cookies were the perfect pick-me-up.


To start, I preheated the oven to 350 degrees F.  Remember to put out the butter at least an hour in advance to bring to room temperature. 

We will start with the cookies first.  In a medium bowl, whisk together the flour, baking powder, baking soda, and salt and then set aside.


Next, in a large bowl, cream together butter and peanut butter.


Beat in the sugars until fluffy. 


Then, add in eggs one at a time, making sure each is completely mixed in before adding the next.  Then stir in vanilla.  Continue to mix on a low speed so you can mix in the flour slowly.  After the flour is incorporated, mix in the oats.  Make sure the mixture is well combined.


Now, on a parchment or silpat lined baking sheet, drop heaping teaspoonfuls of batter about 2 inches apart (because they will spread a good bit).


Now, I know you may remember me talking crap about silpat's here.  Well, I'm here to take back my smack talking.  Gasp!!  I had a credit to Amazon and decided to try one.  Insert foot in mouth... they actually are awesome!  The crazy thing is, the two batches of cookies baked on the silpat not only were baked more evenly, but came off the silpat SUPER easy.  And cleaning that thing is a cinch.  So I won't be talking crap about them anymore.  Promise.


Any who, bake for about 10 minutes until the edges start to slightly brown.


My first batch (on the bottom oven shelf with silpat) was done at exactly 10 minutes, but the batch I put in halfway during the first batch took 11 minutes (it was on the top shelf with parchment).


Oh, and one more thing about this, I need to warn you that this recipe makes an obscene amount of cookies.  I ended up making three pans (~60 individual cookies) and then throwing in the towel, but I probably could have made at least two more pans worth!  That's a crap ton o' cookies!  Even when I sandwiched them I still had about 30 cookies!  Below is my leftover batter after making 60 cookies!


Cool on the pan for about 5 minutes, then transfer to a wire rack for the rest of the cooling.


The original recipe calls for poking holes in the "top" cookies to make them look like the GS cookies.  I tried this and, to be frank, I thought it looked pretty stupid.  Haha!  Really, no joke:


So I decided not to do that with the following two batches.

Once you have made all the cookies and they are cooling, make the filling.  In a large bowl, cream together smooth peanut butter, butter, and confectioners sugar until completely smooth.  You don't want to use the kind of natural peanut butter that needs to be refrigerated because it likely won't be creamy enough.  I used Jif Natural Creamy Peanut Butter, that does not require refrigeration, and it worked great.

Now that you have your filling, flip half of your cookies over so their bottoms are showing (hehe).  These are the cookies you are going to put the filling on.  The right side up cookies are going to be the tops of the sandwiches.


Place 1-2 tsp of the filling onto the upside-down cookies.  They kinda look like giant Hershey kisses!  :)


Then put the top cookies on (and push down gently) to make the sandwiches.


That's it!  Be sure you have plenty of people to share these with... if not it could be dangerous because they are delicious!


Print this recipe!

Enjoy my friends!  Happy Girl Scout Cookies month ;)

Oh and for those of you who care, I found out Sunday that I am not a black thumb after all!  Yipee!!  It's tulip time:
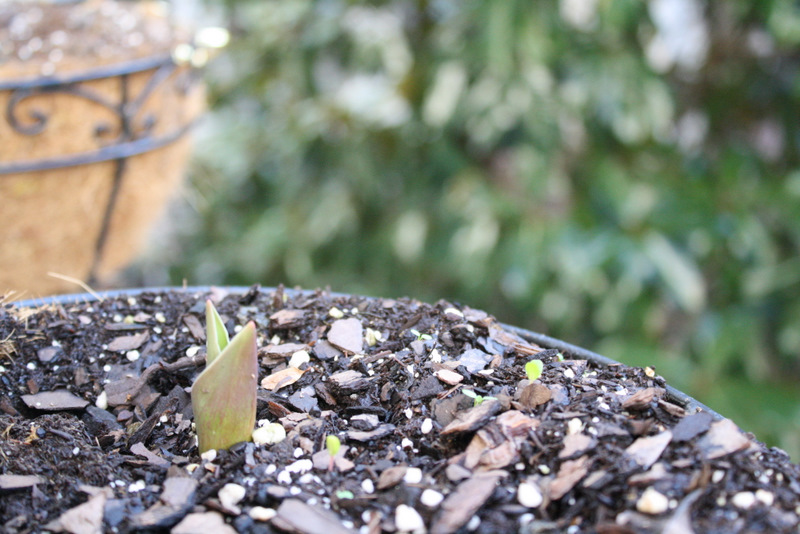

I'm DYING for it to bloom!  But I  think I still have a little while.  Don't you just LOOOVE Spring?!

Saturday, February 26, 2011

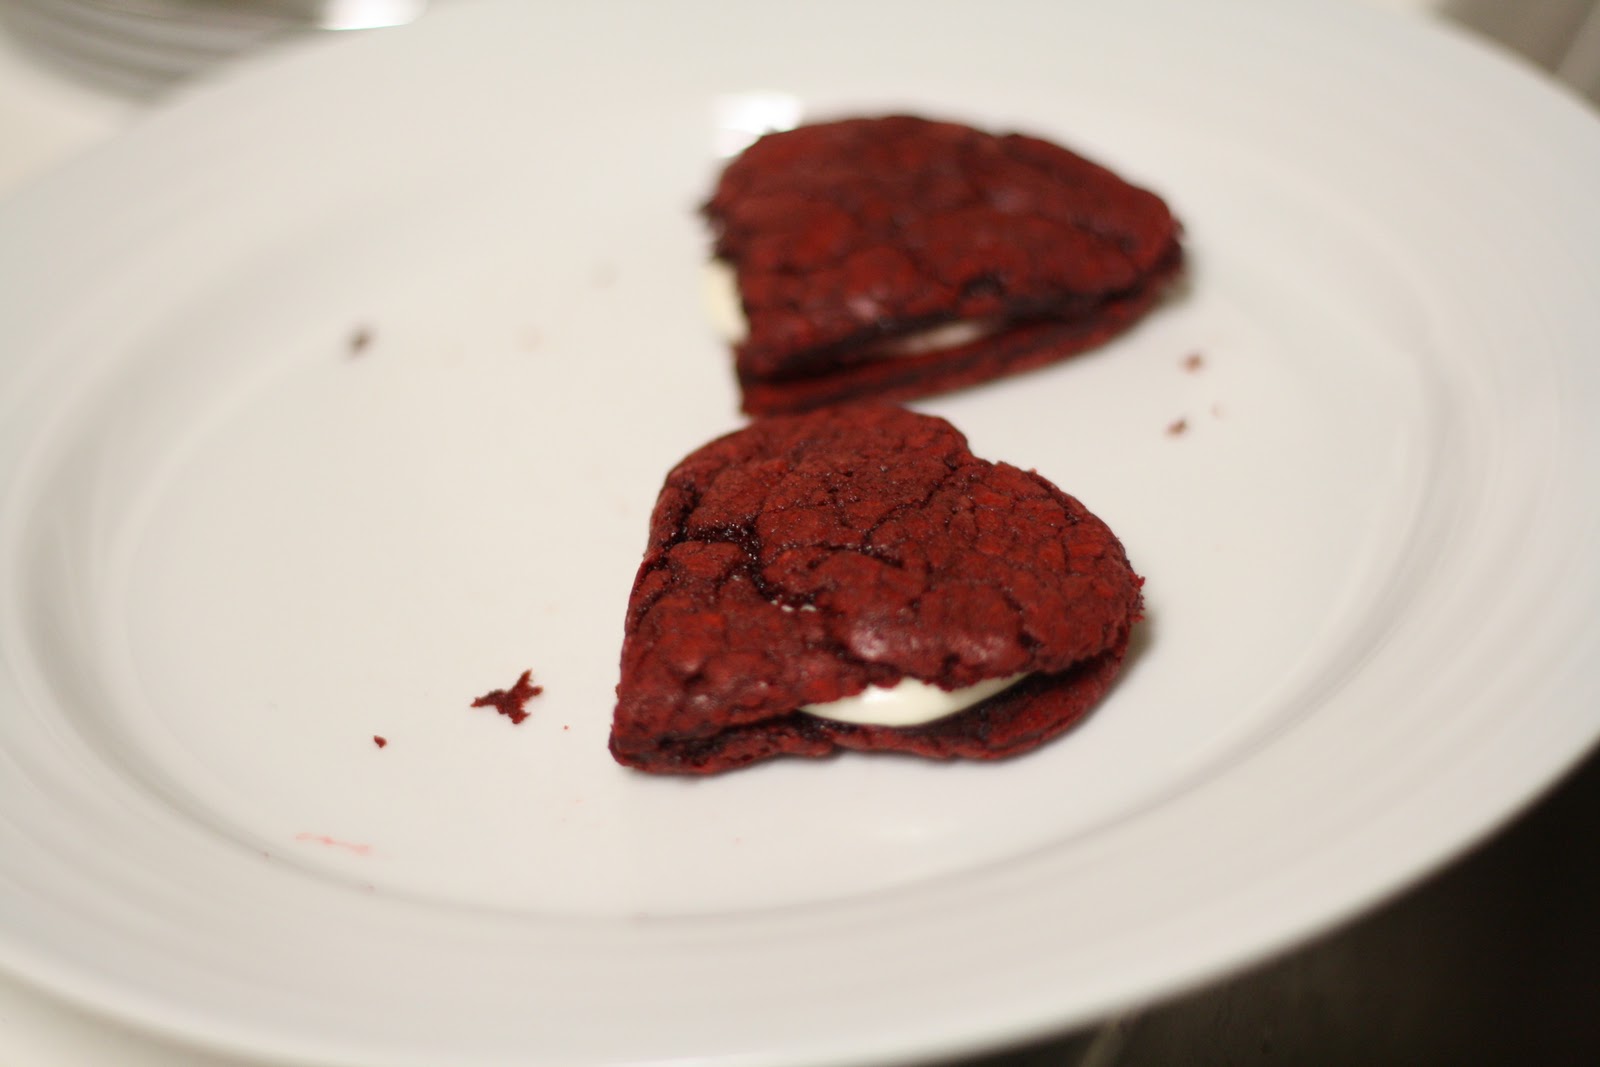
"Sweet" Heart Red Velvet Sandwich Cake Cookies

 That's a mouthful!  Pun intended.


 These are easy, incredibly tasty, and festive!  And I'm sure you could translate the idea into other shapes for other occasions.  I found the idea for these at bakerella.

All you need for the cake cookies is:

1 box red velvet cake mix
1/2 cup butter, at room temperature
2 eggs


And all you need for the filling is:

1/2 Cup butter, at room temperature
1 - 8 oz. package cream cheese, at room temperature
1 1lb. package of confectioner’s sugar
1 tsp vanilla extract (clear if you want the filling pure white)


First you make the cookies.  All you do is preheat the oven to 350 degrees, mix the ingredients until well combined, use a cookie scoop to scoop the batter onto a baking sheet about 1 1/2 to 2 inches apart.  Bake for 11-13 minutes, maybe even 14.  I had a hard time figuring out if they were done or not.  Red doesn't really "brown", exactly.  So maybe try a toothpick?  It was too late for me.  I had to sort of salvage the situation last minute.  Oh well.

Let them cool a few minutes and then take your cookie cutter (optional) and slightly wiggle it down onto the cookie (so you push the "scraps" away from the cookie).


Isn't the cookie cutter fun?!  I got it at target in the seasonal section that came with several sizes of heart shaped cutters.


Now let them cool a bit more and make the filling.

In a mixer, cream butter, cream cheese and vanilla.  Then, very gradually add the sugar and continue to combine until it is smooth.

Now take your cooled cookie hearts and remove the scraps or outer edge of the cookies.


That leaves lots to nibble on!  ;-)


Uh oh!


 Now you have your heart cookies.  Take half of them and flip them over.  Now you have the bottoms of your cookie sandwiches. Take a dollop of filling on a spoon (use your best judgment on amount) and place it on top of the upside down cookies.  

 
Now place the still right side up cookies...


...on top and there you have about 10 heart shaped red velvet cake cookies!


I ended up freezing mine for a "ice cream sandwich" type of dessert.  But that was just because most of them were a hot mess because I was in a hurry to make it to dinner with some friends.  I think they would be delish at room temperature.

I hope you enjoy these!

Tuesday, February 8, 2011

Bright and Cheery Cake Cookies

These cookies hold a special place in my heart.  I made around 200 of these for our wedding.  Proof below:


I made them a couple of weeks in advance of the wedding (with the Hubby's help - he stirred!).  I froze them and it worked out great!

This time around I made them for a friend.  My BFF.  (Hopefully she won't read this until she gets them because I'm shipping them in the morning!)  She is one of the awesomest people on the planet.  She is the most amazing and wonderful friend I could ever ask for and I would do anything for her.  From what I remembered, she really really liked these at our wedding and I was hoping to cheer her up a bit with some of these because the weather where she lives has sucked a big fat toe lately.  She lives in Boston, but since I knew these cookies lasted a while even after they thawed, I decided they were the winner for being shipped up north.  I am not going to put her picture on here this time around because I'm sure she will be like, "Jenny, why did you do that!?"  hahaha.  But I'm sure you will get to meet her soon.

These cookies are ridiculously easy.  They aren't even from scratch... GASP!  You will need the box mix for either strawberry cake or lemon cake, I made both this time around. I used Betty Crocker this time, but I also like Duncan Hines.


Preheat your oven to 350 degrees.  Pour the cake mix into a medium to large sized mixing bowl.  The only things you need to add to make the cookie dough is one large egg and 2/3 cup of oil. 


Stir well with a spatula or large spoon until all the mix is moistened.


I use a cookie scoop to get the appropriate sized cookies.  But I think a heaping tablespoon full of batter would also work. 


If you end up using the heaping tablespoon of batter, I would also roll the cookie dough into a ball with your hands (it doesn't have to be perfect).  That way the cookies will be a prettier shape... which is important, because these are pretty cookies!  Especially the strawberry ones... gosh they would be perfect for a girl baby shower! 


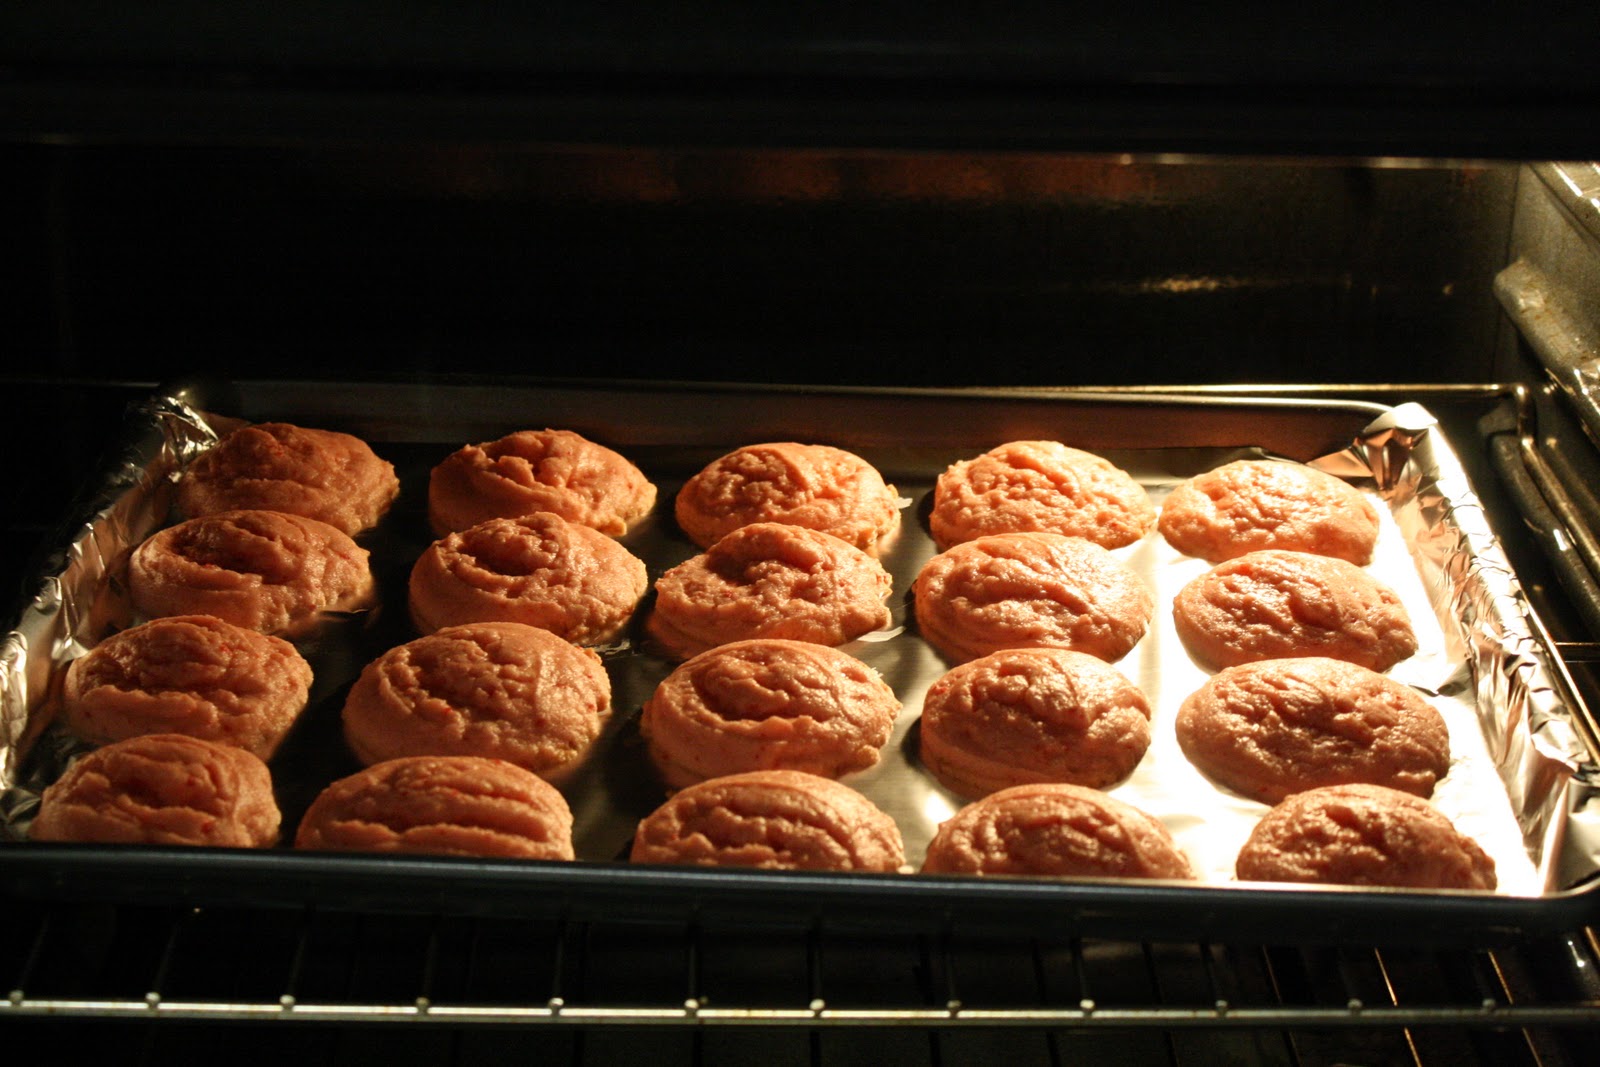
Place on a large cookie sheet (you can line with non-stick side up aluminum foil if you please, but do not grease either way) about 1 inch apart.  Bake for 11-13 minutes.  Keep a close eye on them.  The tops shouldn't ever get brown, because if they do you've baked them too long.  Look for browning around the edges of the cookies.  Once you see a nice golden color there, they are ready to be taken out of the oven. 


Allow to cool for 2-4 minutes on the pan and then transfer to a cooling rack with a "turner" (I call everything a spatula, ha!) and allow to cool completely. 


Or just eat a really hot one like me... mushy deliciousness.  It's really hard to resist them, believe me!


Aren't they pretty?!?!


Our wedding colors were green and yellow, but I just couldn't help making the pink strawberry ones.  Plus they are one of the Hubby's favorite cookies that I make.  Right next to the Chocolate Crack Cookies and some other ones I make called oatmeal scotchies... don't worry, I'm gonna do a post on those too.  And lucky for you they are super easy also.


I can't give "credit" to these cookies because they were kindof made up.  A coworker of mine suggested I try them and then she told me the recipe and I forgot it and then I made up my own.  This may have been exactly what she told me but I can't remember for the life of me!  I don't know where she got them from either.  So they are the "Jenny's Cake Cookies" ;-) 

Strawberry or Lemon Cake Cake Cookies

One box of cake mix (lemon or strawberry)
2/3 cup oil
1 large egg

Preheat oven to 350 degrees.  Mix all ingredients together in a medium or large mixing bowl until all mix is moistened (i.e. you don't want any powder left).  Use a medium sized cookie scoop to scoop onto a large un-greased baking sheet about 1 inch apart.  If you don't have a cookie scoop use a heaping tablespoonful and use your hands to roll into a ball before placing on cookie sheet.  Bake for 11-13 minutes until only edges of cookies start to brown.  Remove, cool, and EAT 'em up!

Enjoy!!


Sunday, January 23, 2011

Chocolate Crack

You are in for a serious treat.  I had 3 different people tell me that, out of all of my baking that they have tasted, these are by far the best thing I have made so far.  And actually, I have to agree.  Who would think that cookies would be the best thing I have made? 

IMG_2342

And the lucky recipient of half of the cookies was one of my favorite work bff’s.  Realenn is such a great person and a hard worker.  She is just so sweet.  Any time I need a favor at work, even if it will not benefit her in the least, she is always there to help out.  This past Thursday was her birthday and I wanted to make her something special. 

IMG_3665

So, since Realenn wouldn’t give me any direction in what to make, I decided to bake the most recent thing on Bakerella’s website.  She calls them Chocolate Crackles.  After consulting with the hubby and several other people, we decided to call them Chocolate Crack because it really is the only name that’s appropriate.  This is adapted from a Martha Stewart recipe, which is the one Bakerella used. 

IMG_2307

On to the recipe.  First you will melt the mini bittersweet chocolate chips in a double boiler or in the microwave.  When melting chocolate in the microwave be sure to watch closely.  I usually do 1 minute first, then stir, then 30 seconds at a time (stirring in between) until melted.  Set chocolate aside to cool.  Meanwhile, sift together the flour, cocoa, baking powder, and salt. 

2011-01 (Jan)

In the bowl of a heavy-duty stand mixer, you will use your paddle attachment to beat the butter and light brown sugar until light and fluffy.  Next, add eggs and vanilla and beat until combined, scraping the sides as needed.  Then, add melted chocolate.  With the mixer on a low speed, alternate adding the cocoa/flour mixture and milk until combined.  This is where I went a different direction from the recipe.  I decided to leave all the batter in the bowl and covered it with plastic wrap.  I put it in the freezer for 45 minutes, but you could also put it in the fridge for 2 hours.  I think the freezer makes them a little easier to work with.  (I actually only made half the cookies the first day, so to keep the batter good, I put it in the fridge for two days with plastic wrap over it and then put it in the freezer 30 minutes before preparing for the second time.) 

2011-01 (Jan)1

After chilling, preheat the oven to 350 degrees.  Get a large cookie sheet and line with parchment paper or a Silpat (I still don’t understand the point of spending $20+ on a Silpat, but more power to ya if you have one).  I skipped the log rolling portion also since I had not separated the batter.  If you don’t have a cookie scoop, I would suggest following Bakerella’s directions rather than Martha Stewart’s.  It seems Bakerella’s would work the best.  Go ahead and get two medium sized bowls for the granulated sugar and confectioners sugar.  Just pour generous amounts of each in a bowl. 

IMG_2323

Next, take the batter out and get your cookie scoop.  This part is M-E-S-S-Y!  For each cookie, get a not too full scoop of batter and roll into a ball with your hands.  Next, roll the dough into the granulated sugar first, and the confectioners sugar next, and then place on the cookie sheet.  Place the cookies about 1 to 2 inches apart.  I could only roll about 3 cookies before I would have to wash off my hands with water.  That batter is crazy sticky!  Once you have all your cookies all rolled and coated, bake for 12-15 minutes, or until the cookies have flattened and the sugar splits. 

2011-01 (Jan)2

Transfer from cookie sheet to a wire rack to cool completely.  Store in an airtight container for up to 1 week. 

IMG_2338

Go ahead and thank me if you must ;-)  Be careful though, these are seriously addictive!  Hubby said they are his new favorite thing! 

Chocolate Crack Cookies

Makes about 4 dozen.

8 ounces mini bittersweet chocolate chips

1 1/4 cups all-purpose flour

1/2 cup Dutch cocoa powder (the only thing I could find was a Dutch cocoa/natural cocoa mix and that worked fine)

2 tsp baking powder

1/4 tsp salt

8 tbsp unsalted butter, room temperature

1 1/3 cups light brown sugar, packed

2 large eggs

1 tsp pure vanilla extract

1/3 cup milk

granulated sugar

confectioners sugar


Follow directions from Martha’s recipe and my post above!

Thanks and enjoy!